


Turn EH! Into Wow!
I've been having fun lately WOWING some of my friends. We started a new Bible Study this month so I made them each a new notebook for the class. It made it fun that I've known them all for years so I had an idea of what they like as far as color and design. The best part, they said, "Did you know I liked such and such?". Well sure I did, I like to listen to them. Even if you don't know someone though, the notebooks are very rewarding to make. They are bigger than a card, so you can pretty much make a little scene on the front.
I'm going to share pictures of the ones I just finished. And give you tips on how to make them.
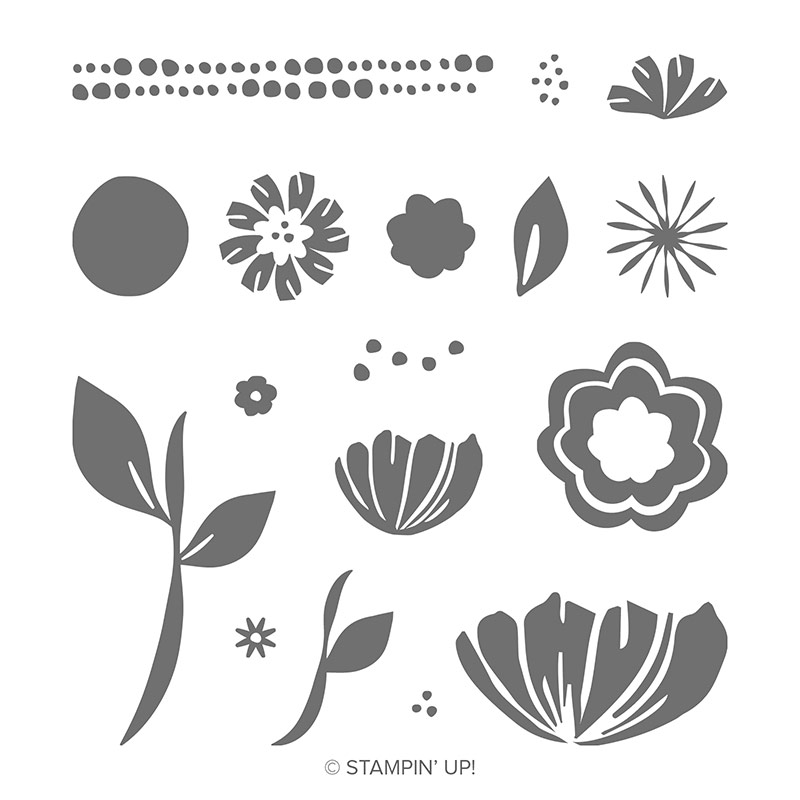 |
| Bloom by Bloom #148820 US$17 Occasions Catalog |

Directions
*General measurements are at the bottom
Bloom By Bloom Is the Stamp Set I used for the butterflies on this Notebook.
Stamp the large solid bloom in the color of your choice 4 times on Whisper White card stock. Stamp the small bloom 2 times. Stamp the single leaf in a contrasting color. Cut them out. (fussy cut) There are negative spaces in the stamps so if you chose you can use a coordinating color marker or blend to fill those in. Butterflies are generally colorful.
Large Letter Framelits Is the die cutting set used for the Initial G. Two were cut from different colors to make a shadow affect. This is used with the Big Shot to cut images out of card stock or DSP, Designer Special Paper. The DSP I used for the front cover on this one is retired. But we still love it and use it all up!
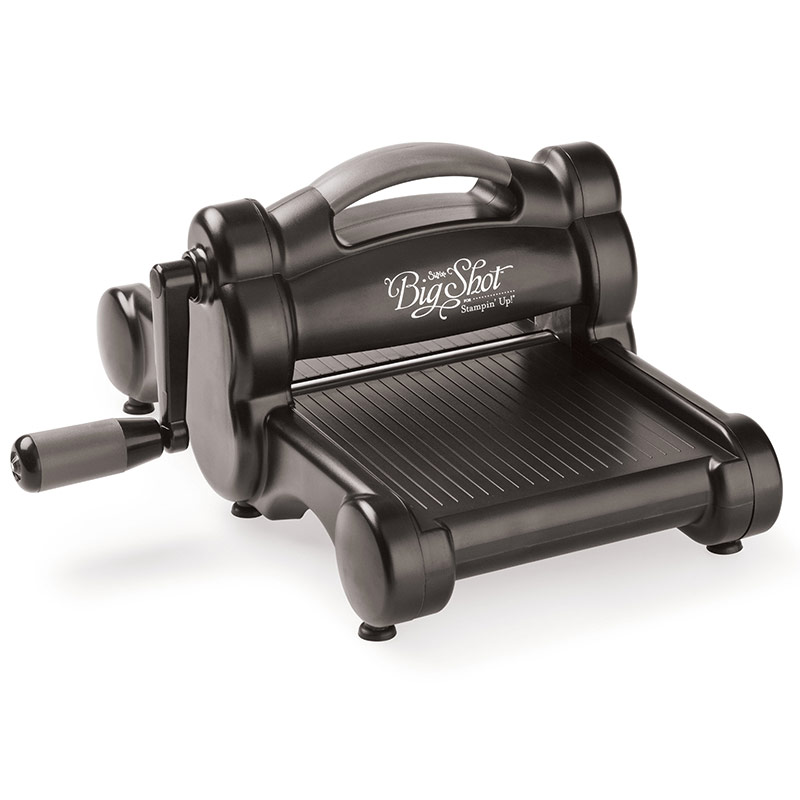 |
| Big Shot #143263 US$110 Annual Catalog |
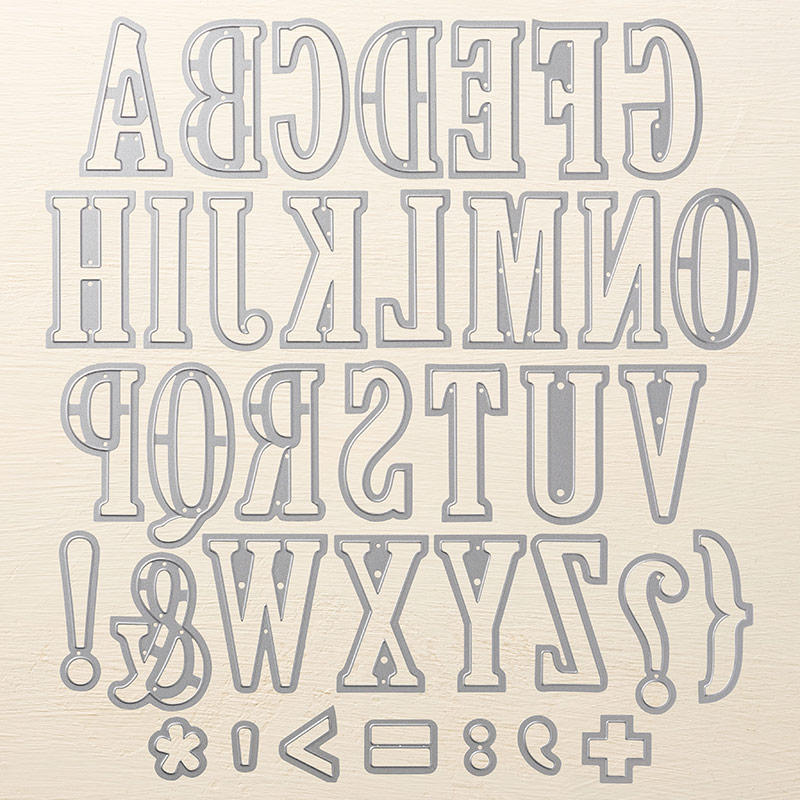 |
| Large Letters Framelits US$99 Annual Catalog |
Use Stampin' Up! Glue to attach the front cover. Before gluing down the inside cover, how about a ribbon marker! Take ribbon of your choice and tape one end about 2/3rds of the way down to the inside near the spine. Place the rest of the ribbon between a couple of pages. Then put glue over the tape and the rest of the outer edges and a bit in the middle, attach your paper. TIP: it doesn't take a lot of glue; and don't go all the way to the edges. Use dimensionals to attach the flower parts in a butterfly position on the front with a leaf in the middle for the body. To mimic flight bend the tips of the wings a bit. SU has many beautiful embellishments, or as we call it BLING! If you like, sprinkle some on the cover for some POP!
Finally, glue the black card stock to the inside back and back cover. You are finished!
Have fun with these, go colorful, abstract, or make a statement. Use any size composition book or spiral book. Just adjust your paper cover dimensions. Your friends and family will love them.
Laura Sziy
Shop for supplies here:
Paper
Glue
Embellishments and Ribbons
*General Dimensions for covers
Front: 7" wide from Black edge of book to outside edge x 9 3/4" height even with top and bottom edges
Inside front: 7 1/4" wide just covering ribbon to outer edge of book x 9 3/4" height even with top and bottom edges
Back: 7 1/2" wide from Black edge of book to overlap to inside x 9 3/4" height even with top and bottom
Inside back: 7 1/4" wide from fraction from spine to out side edge x 9 3/4" height even with top and bottom
Questions? Let me Know
Follow Snappy Stampers for more projects, hints and fun.
JOIN Snappy Stampers to be a Part of that FUN!
JOIN Snappy Stampers to be a Part of that FUN!
Give Yourself a Valentine's Gift
Show yourself some love by becoming a Stampin' Up! demonstrator and stop paying full price for your own Stampin' Up! purchases. Sign up now, during Sale-A-Bration, because you'll receive the BEST SIGN UP BONUS I have ever seen.
If you've thought about joining as a hobby demonstrator just for the 20% discount on your purchases or if you have always wanted to be your own boss and earn some spending cash while having a great time with your crafty friends, then this is the deal for you!
Join for US$99 and pick out US$175 worth of merchandise - Yes that's $175!! Pick from either the Occasions or Annual Catalogs as your starter kit.
Sign up soon so you'll have time to order your starter kit and spread the love by making handmade cards for those you love with your new goodies. Then, share the sign-up information with your crafty friends who might like to have the same great deal you just received for only US$99!
Contact Me for help in putting together your starter kit wish list.
Quick Links
To Place an on-line order 24/7


No comments:
Post a Comment